|
Welcome to Mod Monday! One of the best ways to make your force stand apart from the rank and file and attract new players to the table is with creative and unique game pieces. While Battletech and Alpha Strike aren't WYSIWYG (wee-see-wig, "What you see is what you get") like other games, modifications, reposes, and creative construction enhance the gaming experience. In Mod Mondays, we look at cool modifications and tutorials to build dynamic poses! This week, we'll look a favorite option to allow your miniatures to fulfill a variety of model roles with magnets! The newseen Shadow Hawk is a great miniature with fantastic variants. Iron Wind Metals did fans a solid by releasing both a -2H and a -2K model. No more worries of "what model is that miniature?" But what if you want to field a -2H as a skirmisher today, a -2K sniper to smash some Feddies tomorrow, and a -3K to wipe out the Word of Blake on Wednesday? If you're a detail fanatic, you'd need one miniature for each model. Or, you can get by with one model an a few magnets! Parts List1x Shadow Hawk SHD-2K 1x Limited Edition Catapult HPPC or similar piece 1x Crab communications dish 1x Medium Laser-ish bit (this one was sawed off a Primitive Shadow Hawk) 1x SHD-2H Cannon and SRM2 1x Black Knight PPC (This was just because of the awesome look B1BFlyer did with his unseen SHD-2K) Basic AssemblyTo begin, construct the legs, torso, and arms of the -2K model. From there, drill a small hole in the forearm, the mounting hole in the torso for the cannon, and one on the left side of the cockpit. In each of these holes, glue a small magnet. Drill each hole deep enough so that a magnet will sit flush with the surface. Then, with a small dot of superglue, glue the magnets into each of the hard points. Note: Remember from science class how magnets have poles? This is important when aligning the magnets on the model with the accessories! SHD-2H Model Building the -2H model is a relatively easy matter of drilling matching holes and inserting magnets. For this build, you will need to drill matching holes into the medium laser piece, the cannon, and the SRM2. For the medium laser, you may find yourself needing to add some greenstuff to fill the gaps between the forearm and the weapon. This is best done by flattening a small dot across the underside. It doesn't have to be pretty; it's okay if it goes over the edges a bit (this can be trimmed off after it hardens). Moisten it with water and press it against the arm where it will be mounted. Once set, remove it and let it cure overnight. After the greenstuff hardens, trim and file down the excess putty. Then, find the point to add the magnet (if the arm had the magnet in place already there should be an impression in the greenstuff) and drill a hole. When adding the cannon, remove the premolded pin. In that same spot, drill a hole for the magnet. Use this same technique for the SRM2. Bam! Done. To ensure that the magnets align properly, have the one you will glue into the accessory magnetize itself to the hard points' magnets first. Carefully remove the magnet with tweezers (being sure to remember which side is which), then glue this into the hole on the other piece. SHD-2K Model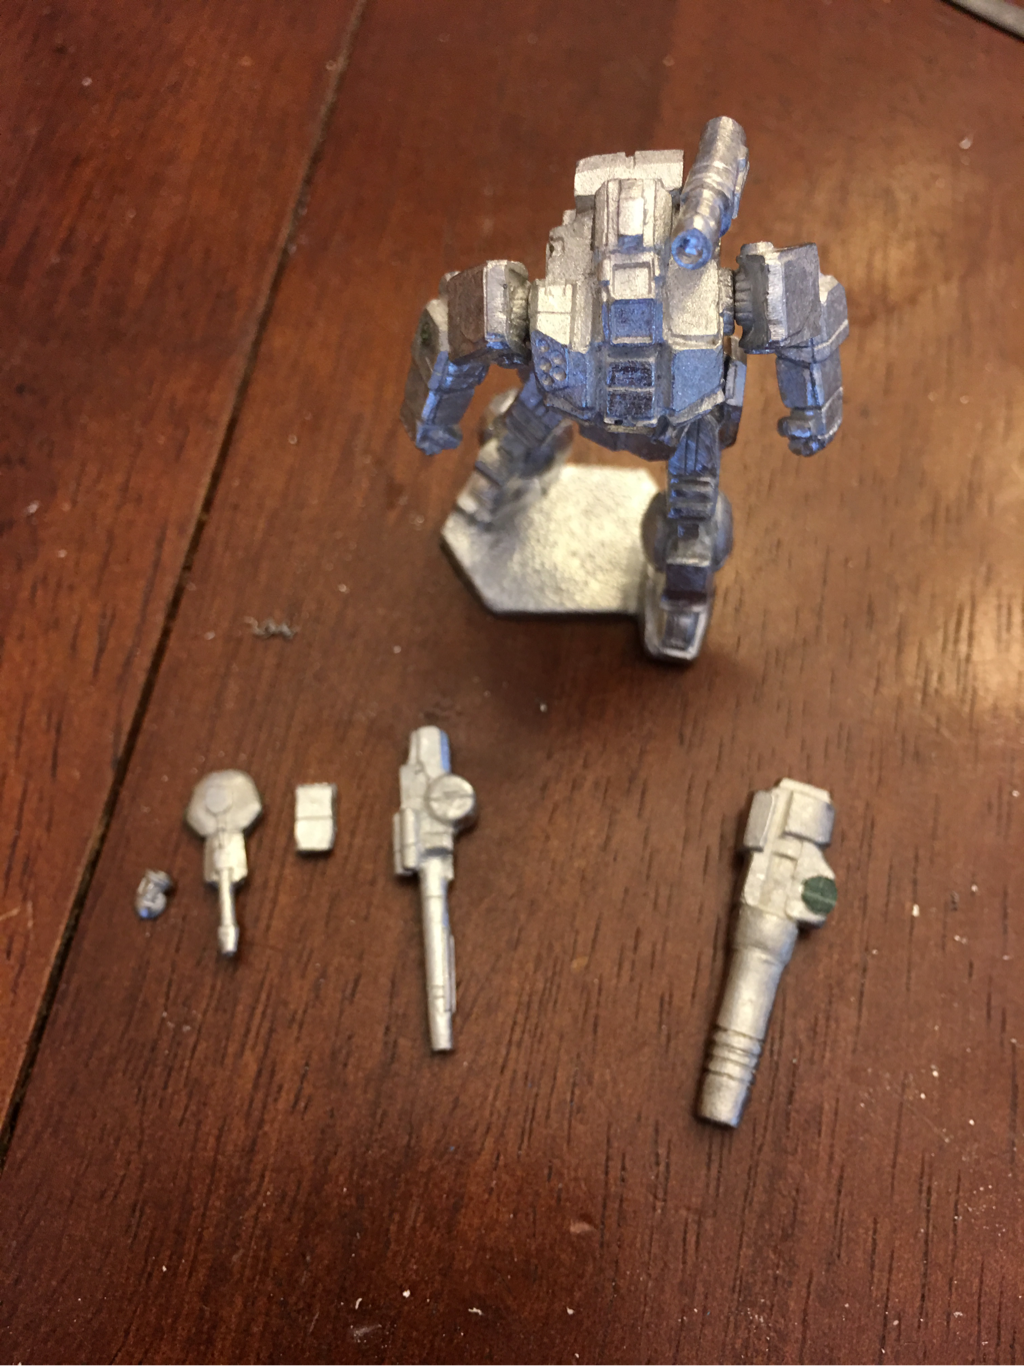 This modification is especially easy if using the -2K cannon included with the model. Use the same process as with the -2H. If, however, your build uses the Black Knight PPC a bit of work remains. First, trim and round the square mounting peg of the PPC. This can be done with a bit of careful X-Acto work and filing. To make the weapon more upright and less angled, build up the peg with enough greenstuff until it is flush with the flat edge of the PPC. Once cured, file and trim the excess greenstuff. Find the spot and drill a hole for the magnet. Using the previously described technique, glue it into the spot. SHD-3K Model For this build, use the medium laser from the -2H and you're already almost there. The HPPC from the Limited Edition Catapult requires a bit of work. On the one hand, there isn't a lot of drilling-simply glue an appropriately sized magnet in the hole. Fill in the other side with greenstuff and carve as you please. To add a bit more detail, use a dish or antenna array to represent the C3 slave. This can be a bit tricky, as it requires some very small, careful, and patient drilling. With this example from the Crab, the hole for the magnet would have destroyed a significant amount of material to make it flush with the base of the bit. So, leaving a bit exposed creates the illusion of a varied size piece-maybe with a rotating base. Magnet MadnessMagnets have a great deal of application, despite the extra work involved in adding them to your projects. If you're a die-hard WYSIWYG player or want to make your omnis truly omni magnets allow you to have a variety of parts for one chassis. They also allow for quick swaps, customization, and even a bit of cool in-game reposes if used on turrets and the like. Magnets do not, however, make for strong poses. One of the most frustrating things I found while working with these on this project is that the nature of the magnet makes the bit fit how it wants to-and that is not always how I wanted it. Regardless of how you come at it, magnetizing pieces is a cool effect and, more importantly, the skills required to do it are indispensable in a wide range of painting and modeling activities. Have your own magnet madness or Shadow Hawk builds? Post them in the comments! Hanger Crew Supporters
0 Comments
Welcome to Mod Monday! One of the best ways to make your force stand apart from the rank and file and attract new players to the table is with creative and unique game pieces. While Battletech and Alpha Strike aren't WYSIWYG (wee-see-wig, "What you see is what you get") like other games, modifications, reposes, and creative construction enhance the gaming experience. In Mod Mondays, we look at cool modifications and tutorials to build dynamic poses! This week, we'll look at an easy repose and modification to make the Jenner JR7-C. Although this tutorial uses a metal model, it is just as easy with the plastic models-maybe even easier!  This Jenner has seen several coats of paint and at least one dip in paint stripper. Through all of that, the greenstuff sculpting has remained solid! SuppliesJenner Model Hobby Saw or X-Acto Saw Greenstuff Sculpting Tool Files Pen Drill Antenna Wire (floral wire or toothbrush bristles) Making the JR7-C ModelThe major change from a JR7-D to a JR7-C is the same as many of the early C3 refits: the removal of a medium laser and the addition of a C3 slave. In this case, one of the left arm lasers is dropped. Pick a weapons port and apply a small bit of greenstuff. Squish it into the port. With a sculpting to or X-Acto knife, scrape away the excess. You may find it easier to do this with a blade dipped in water (this helps prevent the putty from stucking to it). Let it cure over night. Once set, gently file the spot until it is flush with the rest of the surface. To help emphasize the C3 computer, be sure to add an antenna. While there isn't a nice guide hole in the mini, the panel lines on the back of the cockpit make a T shape that works nicely. With an appropriately small drill bit, drill a small hole in the T lines. Glue in your choice antenna. 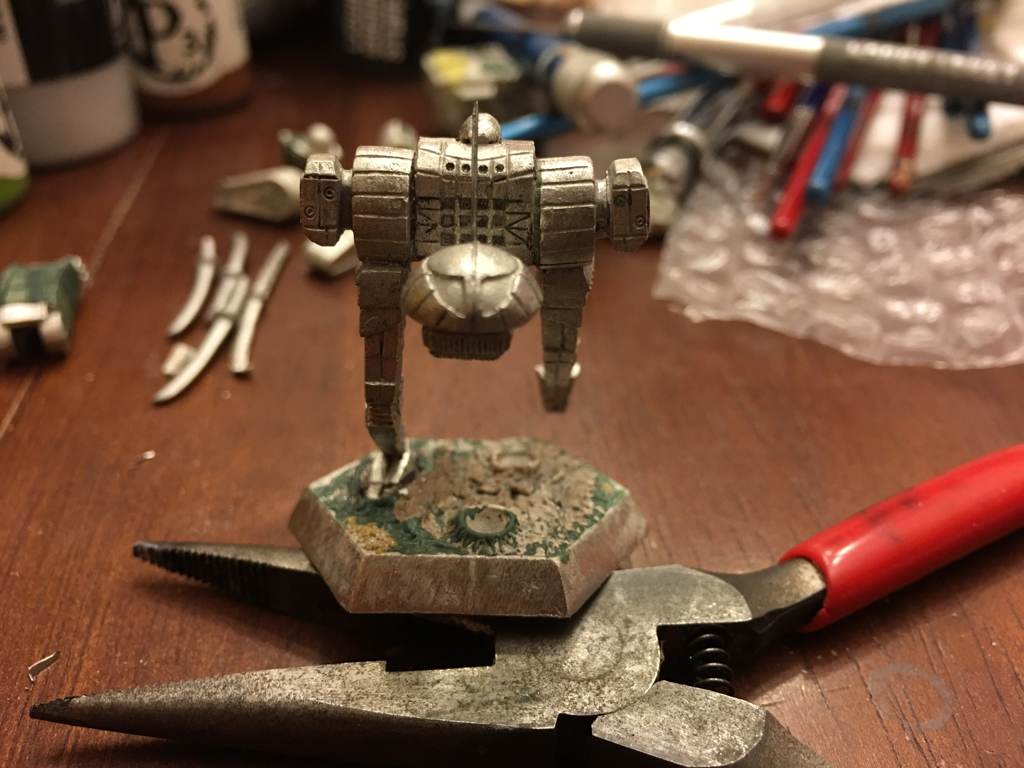 Reposing the Jenner Bonus Mod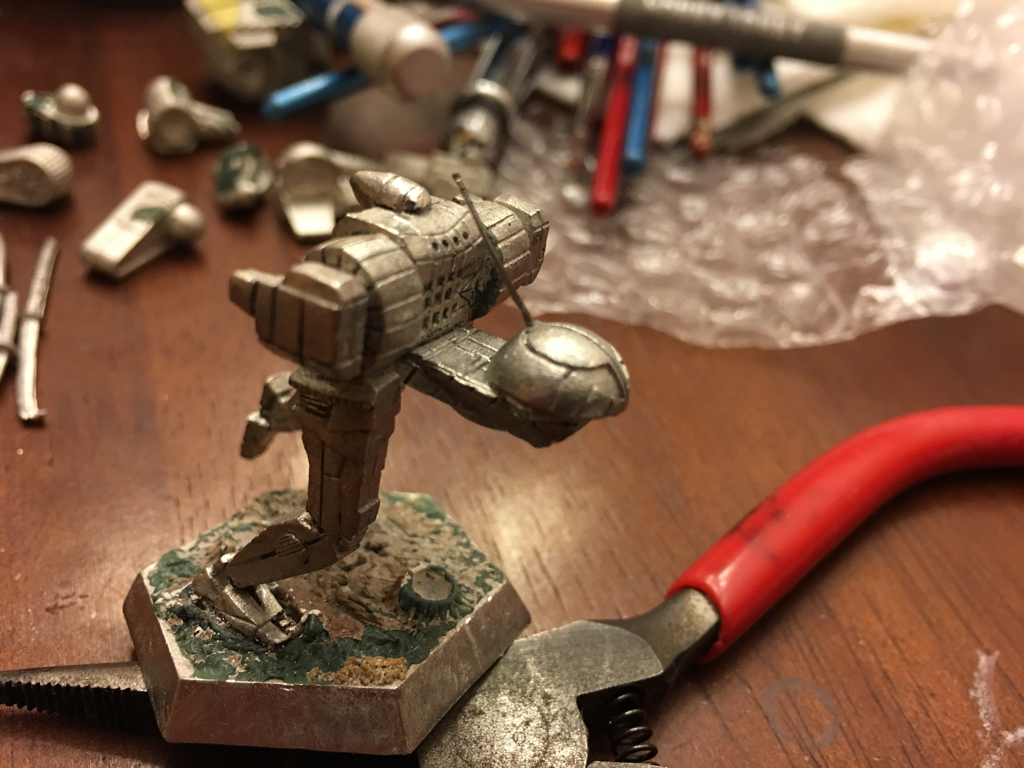 Look closely to see the greenstuff between the left leg and the torso. To repose the Jenner takes a only a little bit of time but makes for a repose more inline with the model's stats. It is easier with the metal miniature becuase it allows for bending the piece in a few places. Start by removing one foot and the corresponsing leg from the base and the torso with a hobby saw or X-Acto saw. Cut slowly and carefully to preserve as much detail as possible; this will save you from having to resculpt details later. Remember, the thicker the cutting tool, the more material you will lose. To keep model proportions, this may require you to rebuild lost material with greenstuff. On this miniature, I had to resculpt the horizontal panels on the inside of the hip because the saw removed them. To make the foot appear as if kicking back in stride, remove a small triangle from above the heel. File down the excess material. Apply a small dot of glue and gently bend the foot into place. Wipe away the excess glue and file when dry. If you would like to add simple treads to the foot, scour and file a few lines across the bottom. To keep the weapons pods aligned forward, remove and reposition the one from the leg. Simply remove the pod as close to it as possible to leave the joint in tact. This js a good time to get at pesky, hard to reach mold lines. Once the weapons pod is removed, find the desired angle and reglue the leg. There is enough sueface area that pinning the joint isn't necessary. It doesn't hurt, however, to pin it in place. Find the desired angle of the weapons pod and reglue it. To give the piece a bit more of a running pose, gently bend the leg on the base at the ankle and the knee. This will distort the panel lines a bit. To clean up the curved lines, carefully reform them by scraping an X-Acto or files through them. 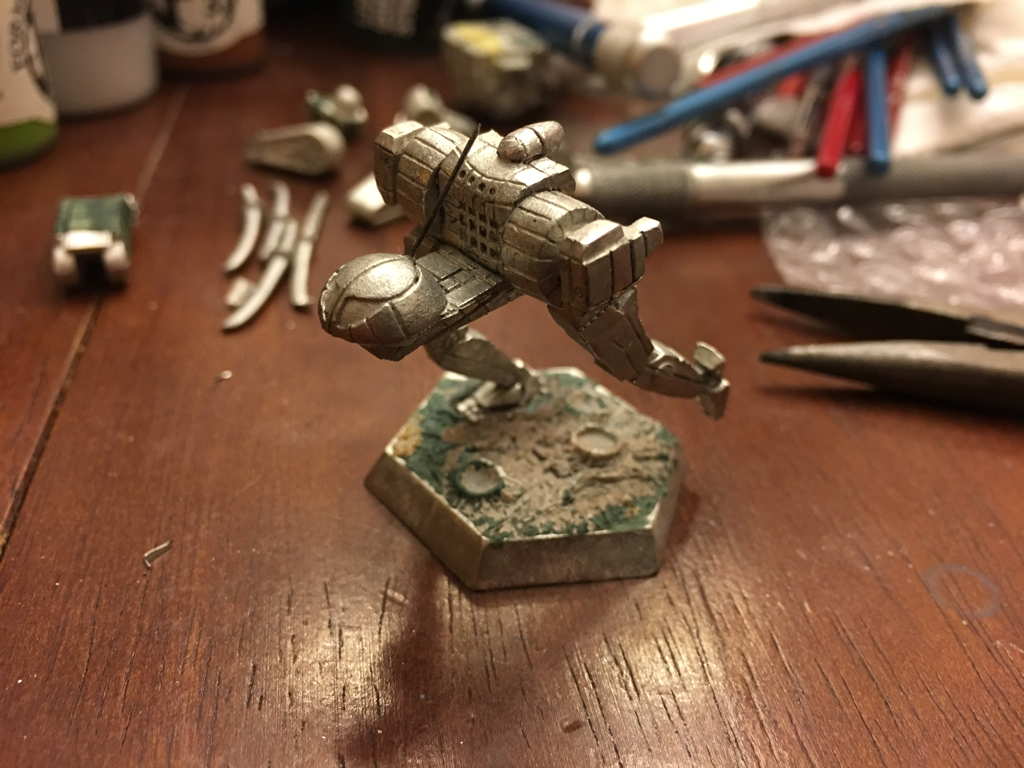 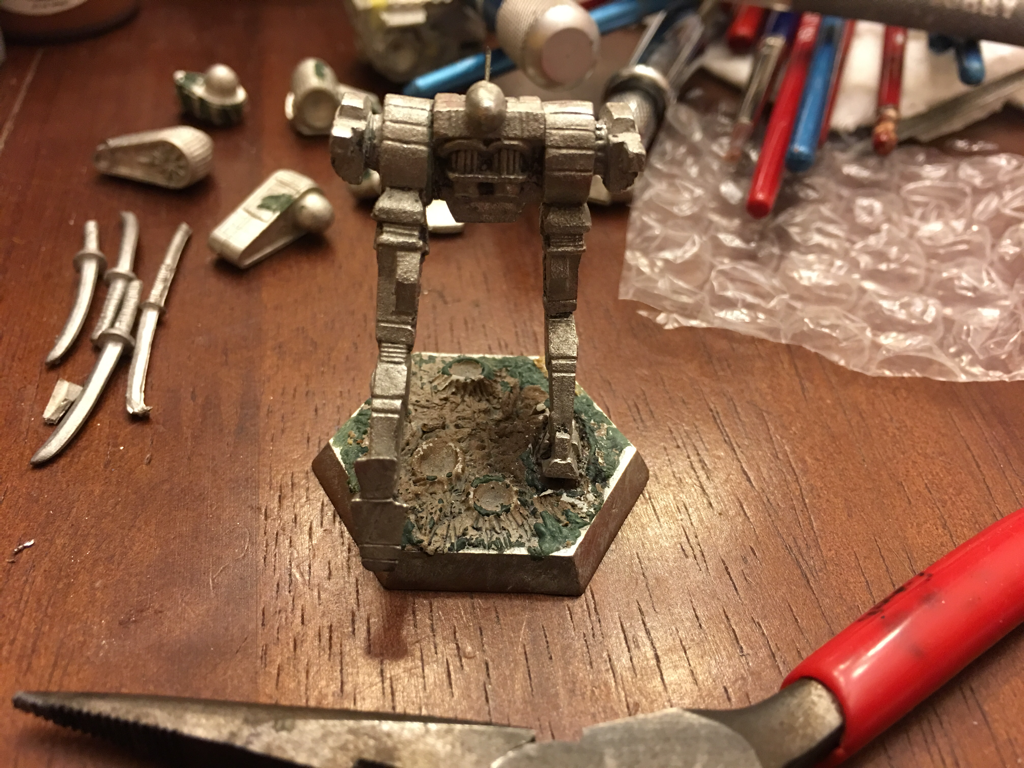 In about an afternoon, you too can have an simple and awesome reposed Jenner. What's more, the fundamental skills used in this job apply to nearly all levels of reposing and modding. From files to saws and drill bits to greenstuff, developing and refining these techniques opens an infinite world of new and interesting models. Have your own Jenner modification? Tell us about it in the comments! Hanger Crew Supporters
|
Cap'n EdTutorials and Projects Archives
January 2018
Categories
All
|
Cap’n Ed’s ’Mech Hangar
 RSS Feed
