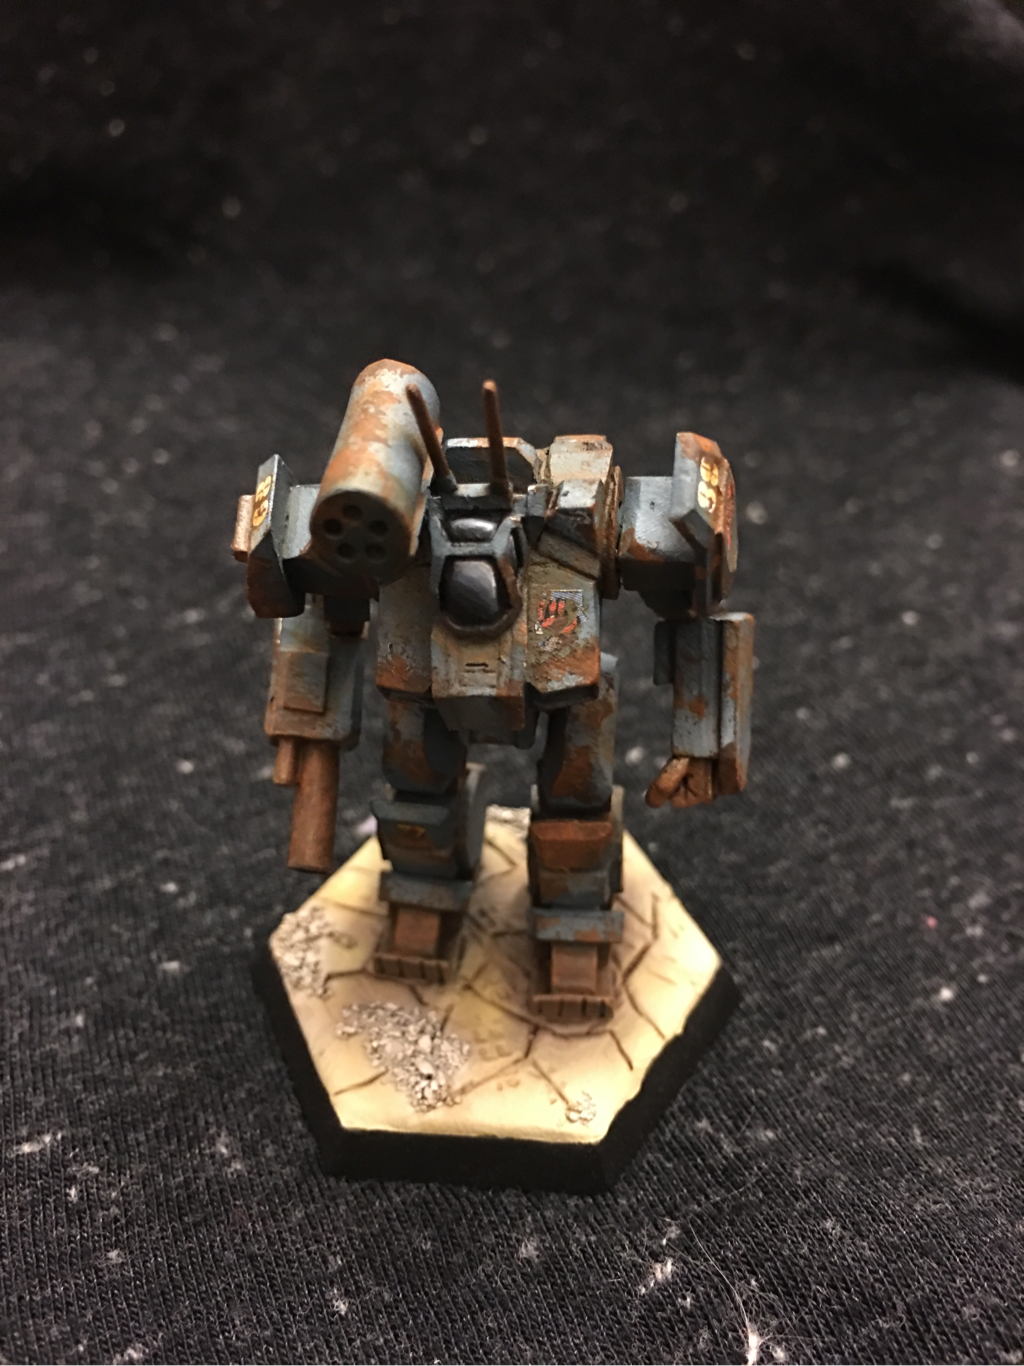
 Here is the finished GRF-1A Griffin. To enhance the primitive aspect, I posed it in a slightly bent forward and to the side, used extensive weathering with chipping fluid and sponge paint, and washed the decals with sepia. Inspired in part by the aesthetics in Fallout, I placed it on a cracked earth base to enhance the abandoned feel of it.
0 Comments
 Going for a Donegal blue with an airbrush. Started with a 1:1 mix of dark brown and navy blue. Here is where things are a little more complicated... After sculpting the cracked earth on the base with green stuff, I mounted the piece and primed it black. Black is a good, safe airbrush primer to make great contrast with later colors. It does not, however, work so well for ultra-bright colors or if you intend to use preshading techniques. Because I wanted a rusty and worn effect, I covered the primer with dark brown sprayed from all angles. On top of that, I used a medium burnt sienna color in splotches here and there that seemed like they would be the most worn and rusted. On top of that, and leaving some of the previous layer showing, I sprayed a bit of bright orange. Since this is rust, it doesn't need to be uniform or even--overspray and mistakes are okay. 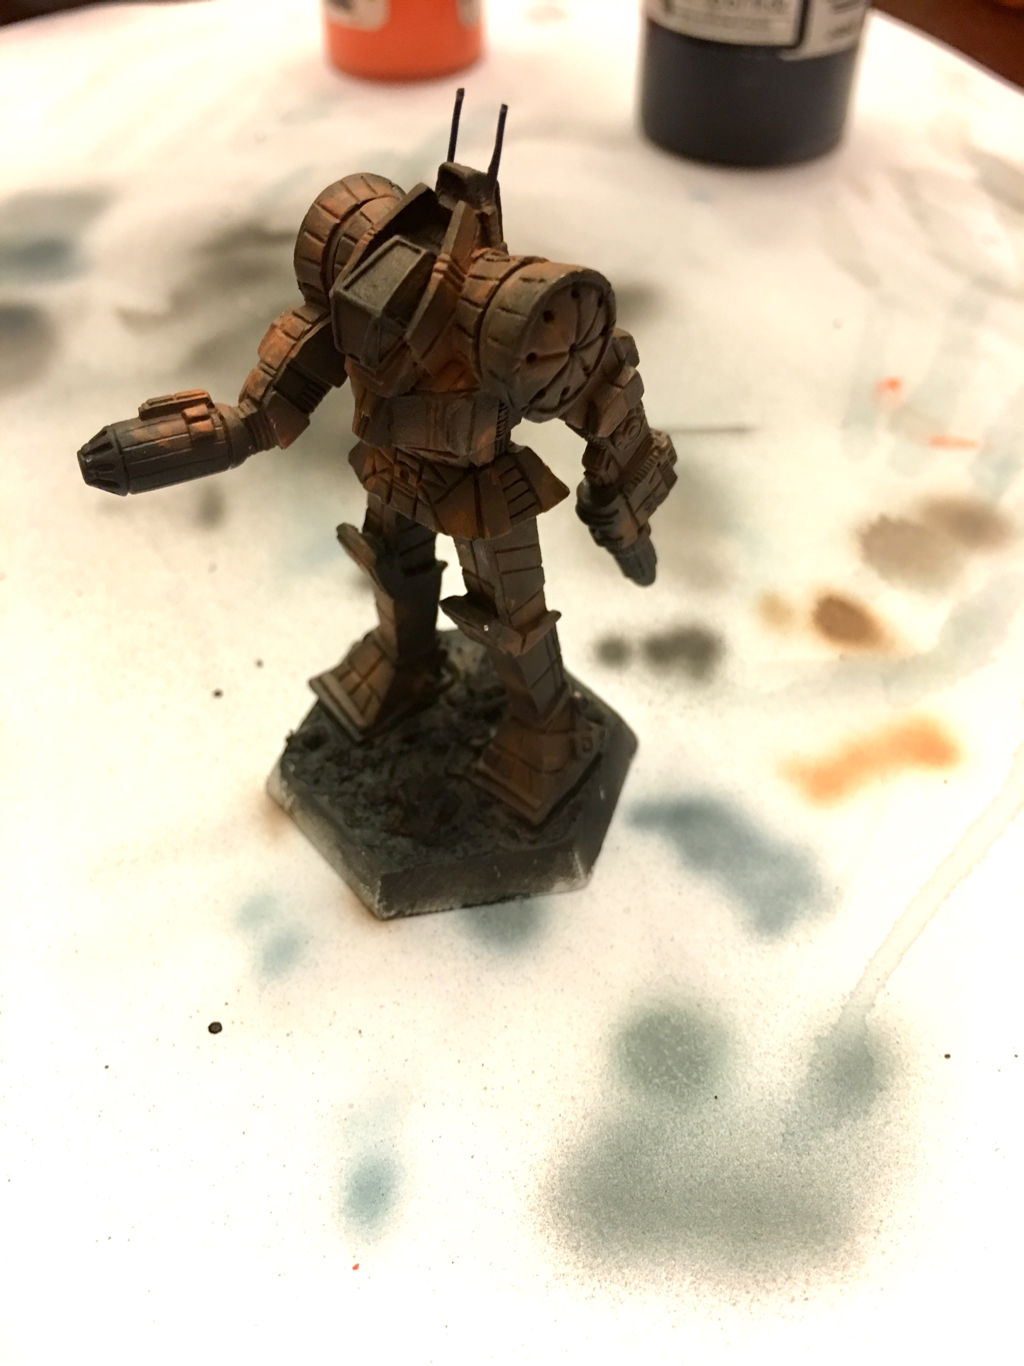 Different mini, but the principle is the same. Using the chipping effect (akin to the hairspray method), required me to seal the miniature with Matt varnish at the step. It's best to get a good deal and let it set over night before applying the chipping effect. After setting aside for an evening, I applied chipping effect liberally to the miniature. The more you use--in several coats--the greater the chipping effect will be. Once it dries, the base coating began. With an airbrush, contrast is key. The layering method was: 1) 1:1 dark brown:navy blue--sprayed from all angles and even coverage 2) 2:1 navy blue:medium grey--sprayed from 0* to about 45* 3) 2:1:1 navy blue:medium grey:bleached bone--sprayed from 0* to 45* or so, but leaving the other layer still visible 4) 2:1:2 navy blue:medium grey:bleached bone--sprayed from 0* to 30* or there about, with attention given to other areas that may have some highlight 5) 2:1:2:1 navy blue:medium grey:bleached bone:white--0* and highlights as necessary Each time, I diluted the paints with twice as many drops of airbrush thinner. After the last highlight, the chipping began! With warm water and a soft brush, I GENTLY scrubbed at the edges, knees, feet, and other areas that seems like they would be worn and rusted. Some of the underlying paint stripped off--though frustrating, this is okay. When I was satisfied with the results, I dried and resealed the mini. To enhance the rust effect, I dipped a corner of a packing Sponge in dark brown, wiped off most of the pint, then stippled it onto the miniature. With an old brush, I stipples burnt sienna into the center of the larger scrapes. To create streak, I mixed sepia wash and orange together, stipples one to the piece in strategic locations where rusty water would collect, and before it dried, take a dry bush and streak it. It takes several layers to get a good effect. The base was a similar method, but with desert sand tones. Don't forget to follow me on Instagram the_artist_known_as_capn_ed for more updates! 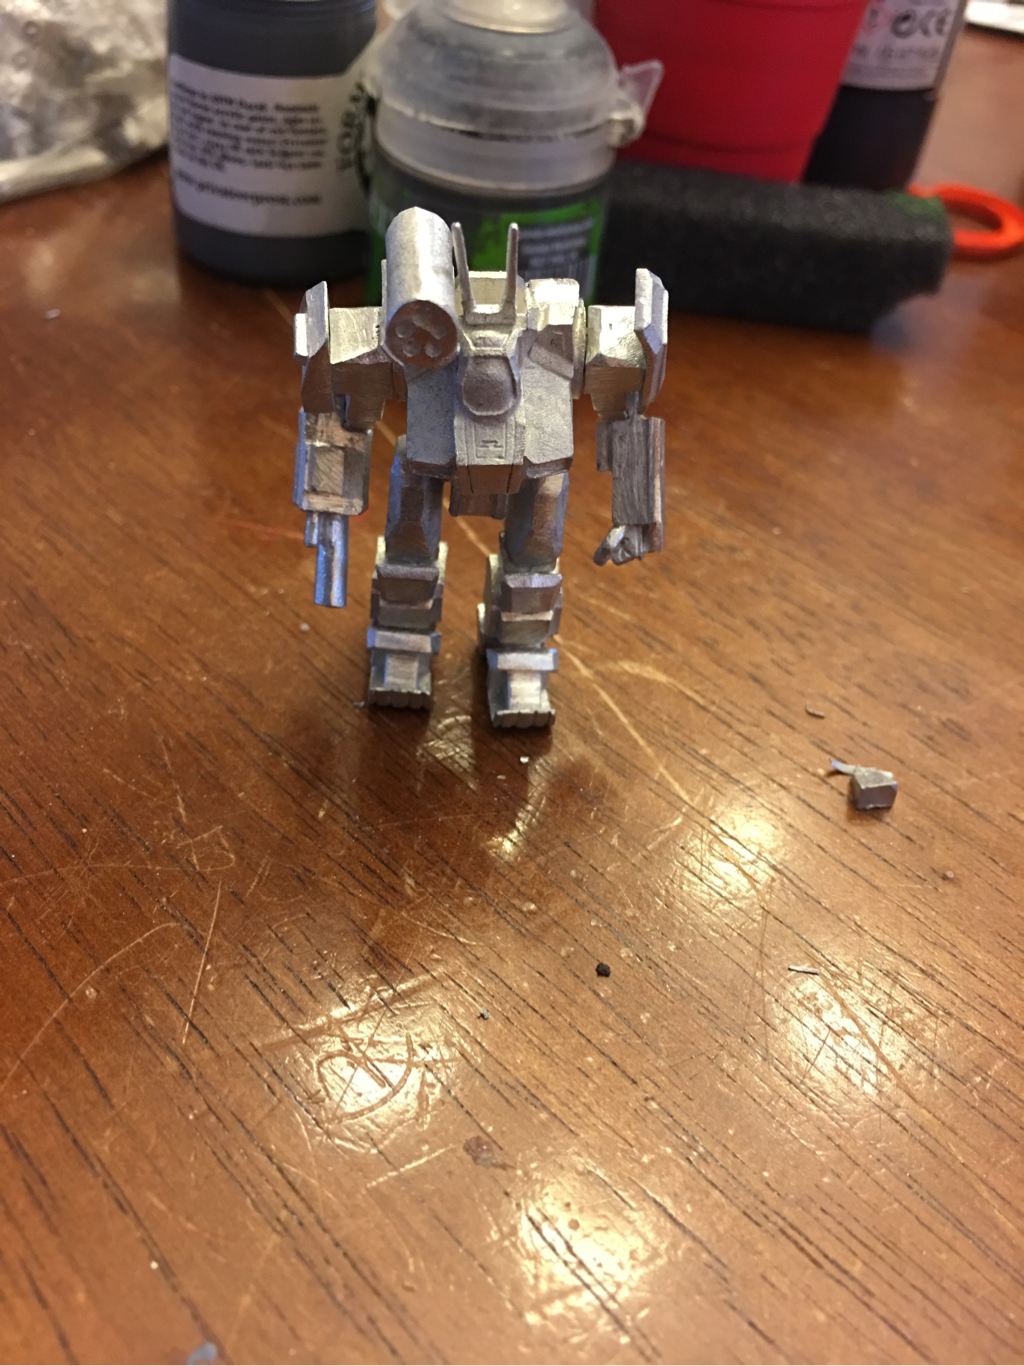 The beast lives! All assembled, it stands in line with similar 60 ton units like the Dragon The and primitive Shadow Hawk. Nothing fancy to this update--just a primitive Griffin standing on my table.
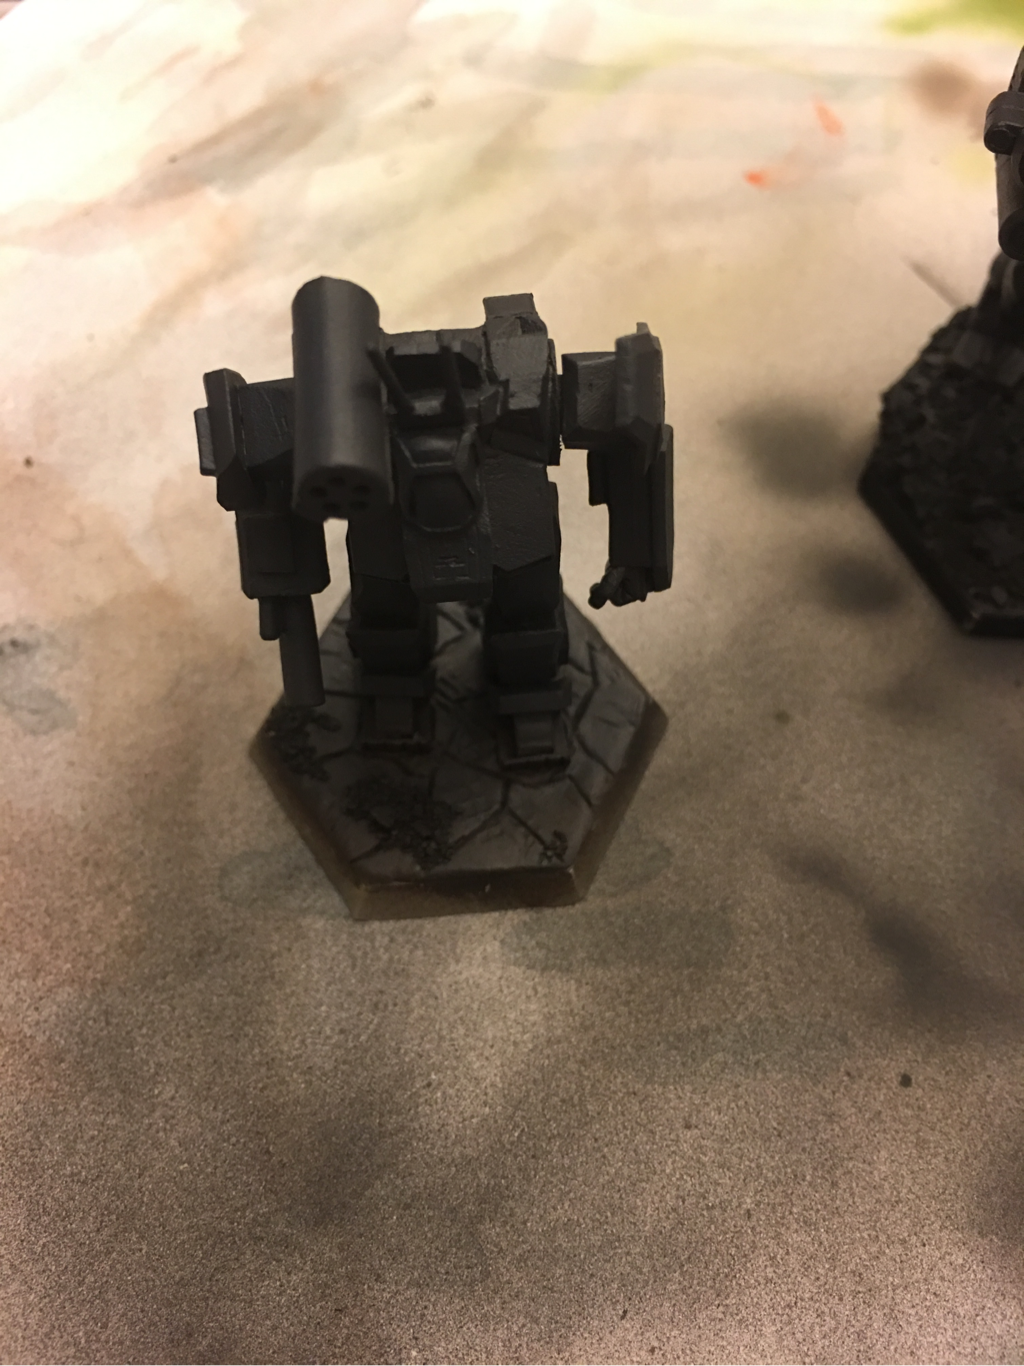
Though it has a lot of pieces, they are relatively easy to file and clean. Two notable exceptions, however, prevent this from being a perfect build. First missile pod: the sprue attaches over a vent. This will require some careful X-Acto and file work to preserve the grate. Second the antenna: I have mixed feelings about pre-made antenna. For this case, I had to drill the existing hole in the back of the cockpit a bit deeper and wider to make this assembly fit. If you're going for a static pose, I recommend building from the feet up making sure each bit is dry first before the next. If you want something more dynamic, pinning is a must! In the end, this piece will emphasize the ancient ad used nature of a primitive design. With the pose, I was going for a look like a racked up suit of power armor from Fallout 4. I imagine a primitive Griffin, long abandoned on a desert planet in the forgotten reaches of Lyran space. Because it it has separate feet, I'll mount it on a flat IWM hex base. Enjoy! 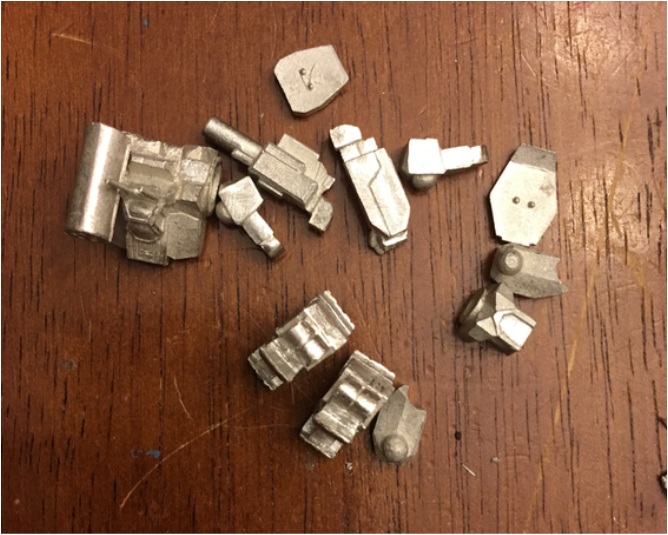 All the parts! Not quite first model reseen Marauder bad, but definitely up there with the more cleaning and pinning intensive miniatures! Pros-lots of great bits for modeling projects. I especially like the LRM tube! Cons-if you're not a modder, fan of pinning, or generally not gentle with your minis, you may want to ask your buddy who is to help you with assembly. Some time ago I began working on the recently released GRF-1A Griffin (IWM BT-346). This is the primitive model for the first production run of the Griffin series, c. 2465 (thank you, Battletech MUL!). It is an era-specific sniper, limited to the Age of War, Jihad, and Early Republic. Fans of the fiction will remember that alongside an assembly of assault units, the Griffin is an iconic Lyran 'Mech. Unsurprisingly it is in the ToE for the Lyrans. (A bit more interesting, it also appears in the Mercenary and Tuarian factions as well.) Perhaps it's because of the "Manufactured in the Lyran Commonwealth" sticker under the hood of this 'Mech and the reputation of LCAF commanders prefering big machines that it debuted as a heavy in the 25th century--but not by much. Squeaking in at 60 tons, the GRF-1A just barely cleared the threshold for entry into this weight class. As for model size, the GRF-1A is a bit bulkier than the Dragon DRG-1N (IWM 20-868) a 60 ton Kuritan cavalry 'Mech. Compared to other classic-related models, it is a negligible measure larger than both the recently released Shadowhawk SHD-2H (IWM 20-5141) and primitive SHD-1R (IWM CE-001). This miniature is well worth the investment (in both terms of cost and time to assemble). It is a fantastic homage to the Griffin aesthetic, albeit a bit of a deviation from the original one-piece Griffin model. |
Cap'n EdTutorials and Projects Archives
January 2018
Categories
All
|
Cap’n Ed’s ’Mech Hangar
 RSS Feed
